
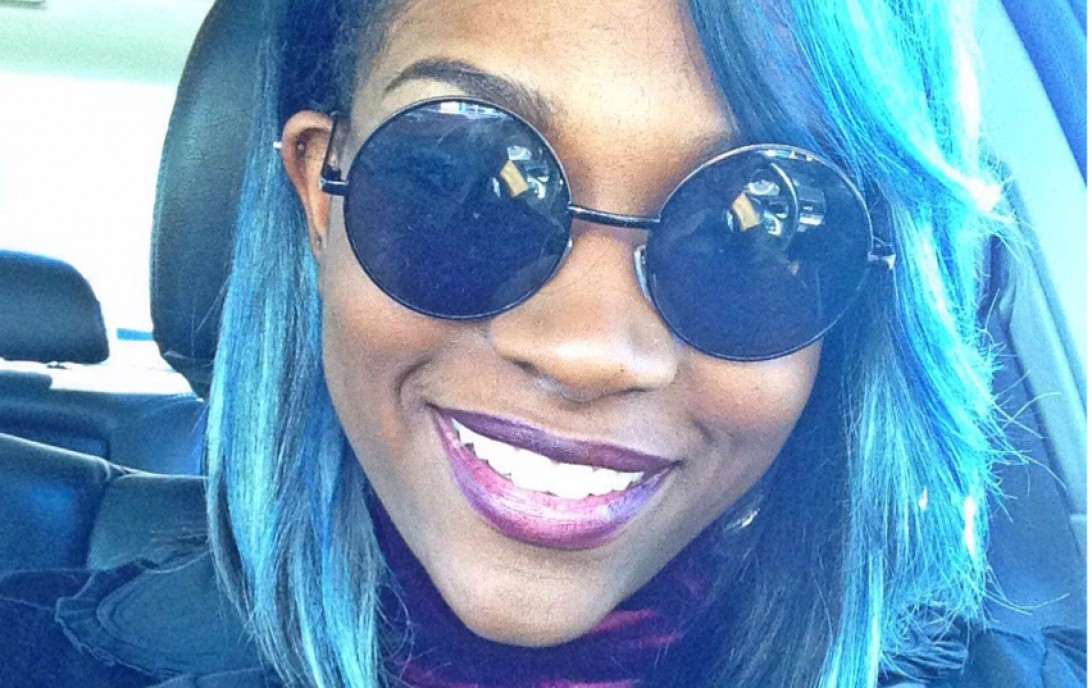
Want to learn how to get this look at your home with little to no experience? Click the post! 🙂
THINGS YOU NEED: Hair, dye, bowl, applicator brush, men’s spandex dome cap or wig unit cap, head mannequin (very inexpensive in Sally’s), bleaching powder and developer, needle and thread, scissors, blow dryer (optional), razor (optional), and PATIENCE!
HAIR: I bought a full 12″ bag of “Urban Beauty” color 51 and a half bag of 12″ color 280 from Dollar Mania (any beauty supply store should have it). The 51 is the silver color and the 280 is the black with grey highlights. My lace closure is from Virgin Hair Market. Visit the website/store location to purchase!
DYE: I used Adore in Blue Black(130) and Indigo Blue(112). Each bottle was $4.99 from Dollar Mania. I also used Ion Color Brilliance Brights in Aqua/Turquoise: $6.99 from Sally’s Beauty Supply (best cream hair dye I’ve used).
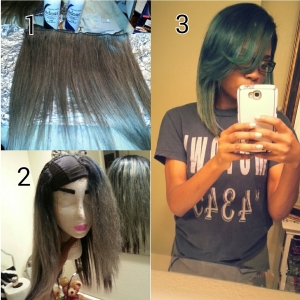
^Quick overview of the process. (Numbers do not correspond with steps)
Step 1: Dye the roots of the silver hair (I did about 2 inches, but dye it to your liking) with the Blue Black dye. Let the dye sit for about 20 minutes. Rinse and dry the hair (I blow dried because I didn’t have time to let it air dry but air drying is better).
Step 2: Bleach the closure as close to the root as possible using BW2 powder (1.99/pack) and 30 volume developer ($4-$7). Let it sit until it gets blonde (about 15-20 minutes). Rinse and dry the hair.
Step 3: Place the cap on your head and use lipstick, chalk, or anything that will show up on the material to indicate the edges of your head. Sew the hair onto the wig cap which should be pinned securely to your mannequin. Don’t go past the marked lines. (For a better explanation look at a few YouTube videos).
Step 4: Once done, I placed the wig on my head to cut the back of the bob. I used the ponytail method, which I have found to be easiest and of less error than any other method. The ponytail method is just placing the area you want to be in an “A-Line” in a low ponytail and cutting behind the rubber band in a downward motion with sharp shears. I placed the wig back on the mannequin once I finished.
Step 5: Mix the Indigo Blue and Aqua dye in the plastic bowl. This is optional. I just mixed the colors because I liked the color it makes. Indigo has the tendency to make hair purple. Make sure you get the color you want before you spread it on the hair. I applied the dye in an up and down motion to create highlights (apply as desired). Let it sit, rinse, and dry.
Step 6: (Final Step) Make sure your natural hair is braided properly with a sturdy perimeter braid and definite part unless you are doing the flip over method. Cut the edges of the wig off and sew onto your perimeter. Make sure the wig is taunt. Use a razor or scissors to cut layers and bangs however you like.
DONE! 🙂
This is a very long process simply because of the processing time. But it is worth it.
*To reuse, just cut the thread (clips can be used instead of sewing) around the edges and remove! Wash and reinstall*

I shared your post 39 however it seems your WP theme doesnt show up well under the browser Demonecromancy I had to use Firefox… hope it is fixed ! https://bestblackmetal.wordpress.com/2015/09/23/sewer-the-most-satanic-black-metal-band-ever/
LikeLike